Chassis modifications – Planning 2

So with a baseline of the existing chassis it was onto modifying it. First off was to model how other manufacturers did it. I won’t mention who.

The results were that my chassis was stiffer. So making it the same was out. Then I took a look at the originals and had an idea…

One model later and I had some more results. Same tests

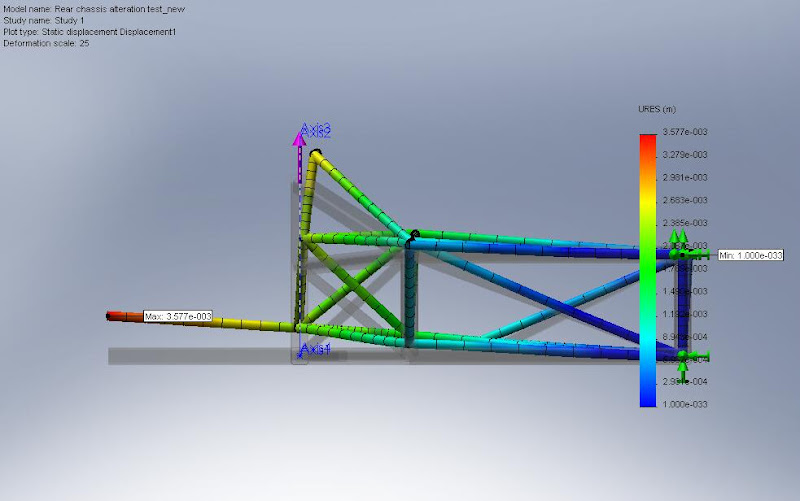
Single bump

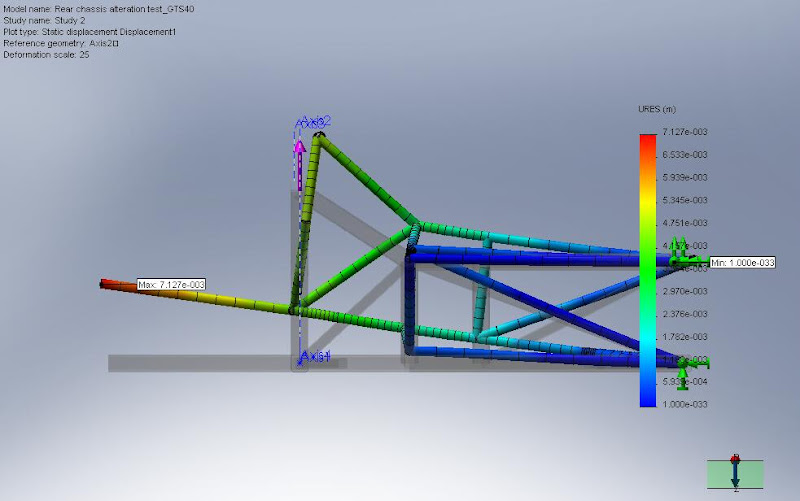
Double bump

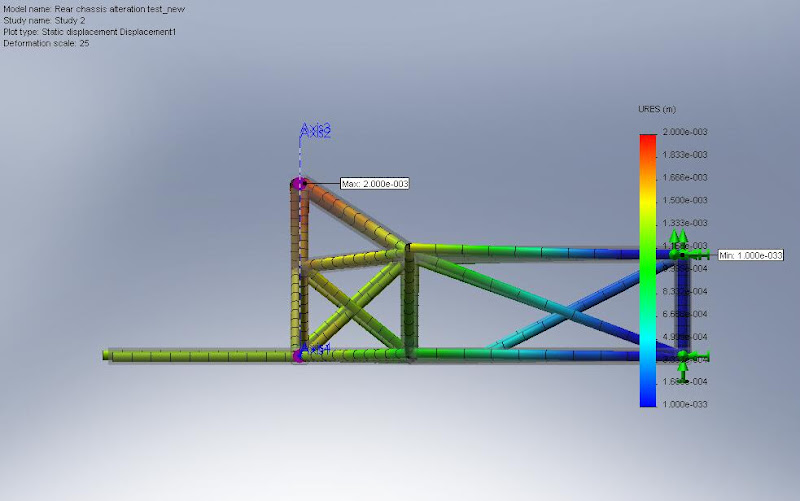
And finally side load

Settings are exactly the same as the initial chassis tests and despite being a very unrealistic set of tests the results are clear that the chassis is stiffer with the modifications.

Results

Single Bump Double Bump Side Load
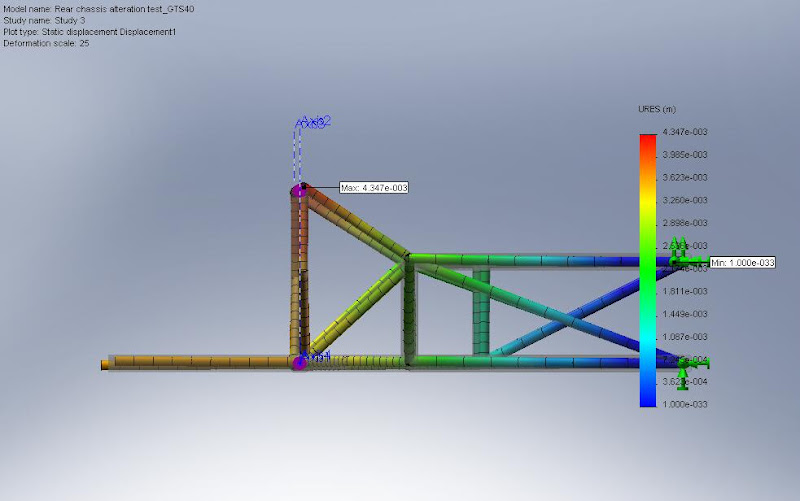
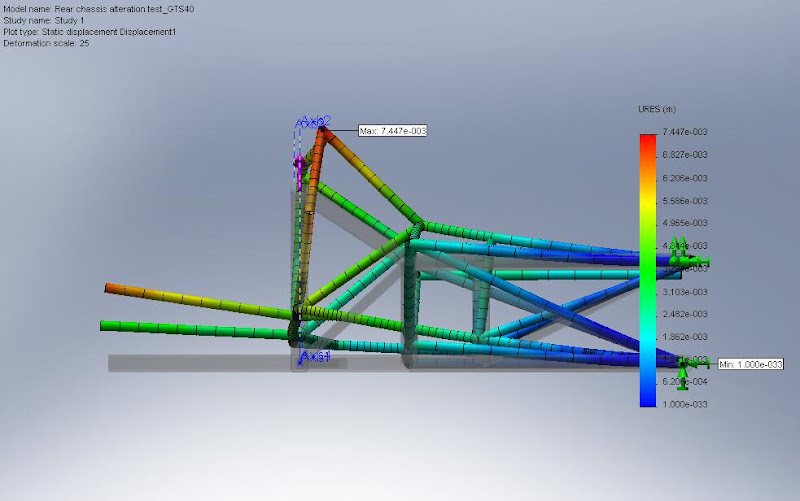
Original 7.447mm 7.127mm 4.347mm
Modified 3.823mm 3.577mm 2mm

Pretty clear improvement. Not that an improvement was the goal, it was more to ensure that by changing things I didn’t make it worse.

Onto the angle-grinder…
 

Chassis modifications – Planning 1

So. There I was looking at the lack of clearance between the rear-most downipe and how other manufacturers do it and then I fired up a CAD and FEA package and modelled half of the existing chassis, first off a “bump” one side (force concentrated into the shock absorber pickup):

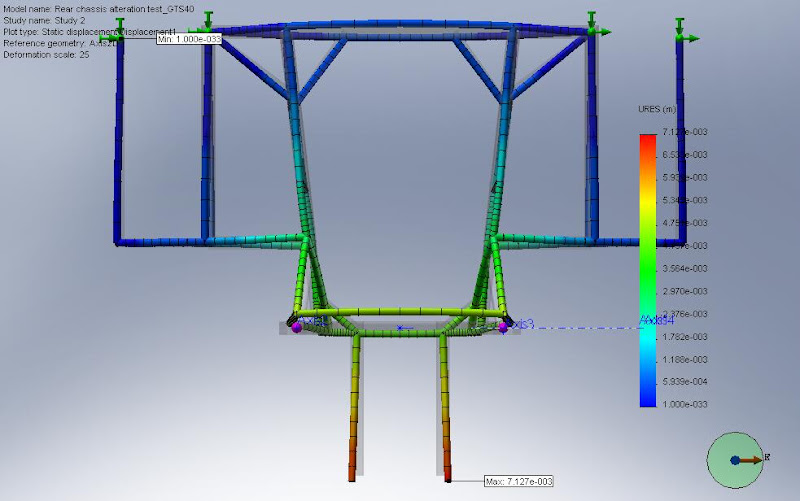
Then a “double bump”, ie both sides. (force concentrated on shock absorber mounts):

Then a side load (force split into suspension mounting points):

The displacement looks horrific but note that the deformation scale is 25x so you can “see” how it deforms.  The actual maximum displacement in the first test is actually 7.4mm under a large load. I did these a long time ago now but I seem to recall I used 10000N for *each* load, that is equivalent to 1t (1000Kg). Approximately 4x the static load (assuming a car weight of 1000kg, all weight balanced evenly).


Engine Update

So, last post I had an engine and a gearbox and an adapter plate but no pictures of it in the car.

I did paint the original inlet manifold, piss about trying to get it to fit with the original distributors, ECU etc then gave up.

Plan now is ITB and COP (Coil On Plug) using Lexus IS200 / Landcruiser COP part number 90919-02230 along with proper plugs (part number 90980-11885)

Wiring to the COP is via 20AWG MIL-W-22759 spec wire which is insulated with extruded Tefzel (ethylene/tetrafluorbethylene) and unlike standard thinwall which is only rated for 105°C it has a maximum temperature rating of 150°C.

The ITB setup was originally planned to be two sets of GSX-R1000K1/2 throttle bodies  on custom manifolds but I changed my mind and bought a set of OBX ITB’s. They still need a load of work but far less than making my own manifolds.

They use the original injectors but the injector rails don’t fit. I’ll need to modify or get new ones made up.

ECU is now going to be a Megasquirt MS3 + MSX. Fully sequential injection and ignition. Sensors will be the original crank sensor plus one of the cam sensors.

I have decided to run the thermostat at the front of the car. So the thermostat “bottle” has been lost (partly as it impacted on the bulkhead) which means an adapter needs making up.

The original front water bridge impacts on the bulkhead and had a massive hold in it where the bypass originally fitted. So I need adapters into the head and to run a T piece.

So then I looked at the clearance to where the rear exhaust downpipe would run….

and then I looked at the chassis…. and I looked at the angle grinder….


Injectors

When I got it the injector rail had been removed (along with manifolds) but the injectors were still in the rail which then meant that the pintle caps had been damaged.

I struggled like hell to find somewhere that sold the caps (seals and O-rings, no problem). Finally ordered some from the US. About £18. Great, except that the cnuts at royal mail charged me nearly £12 for the import VAT and a ‘handling fee’. VAT, fine, I dislike it but I accept it. The handling fee on the other hand is nothing more than a rip-off.

Engine adapter plate

The engine to gearbox adapter plate turned up at the w/e

Along with the oil-take off plate/block

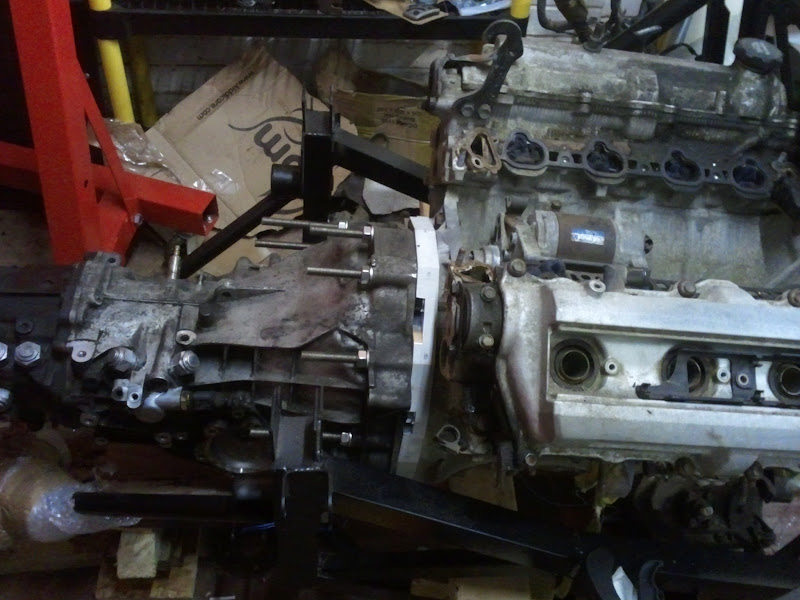
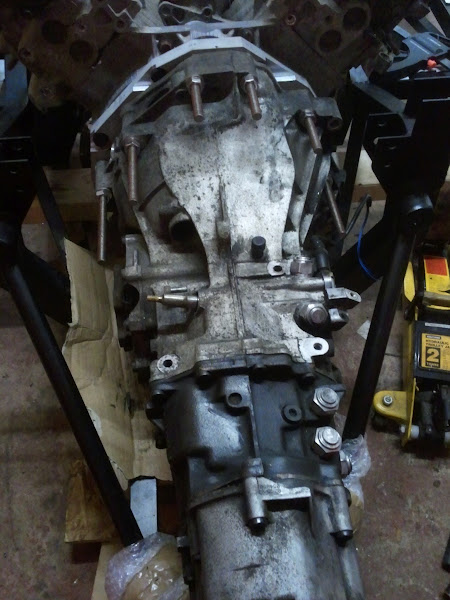
So despite the sub zero temperature in the garage I had to at least try out the adapter on the engine (the gearbox will have to wait until the snow has gone!)

So put it on and shock horror, it didn’t fit…. it hit the flexplate/starter gear.

After a second of panic, thought “hmmm, is there a spacer”, checked the manual and yep one spacer, so off with the flexplate, remove the spacer and try again. Now it fits (although I need a another dowel as one was missing).

I guessed that the starter will have to be moved back an equal amount and Doug confirmed it, he also mentioned that the starter motor bolts will have to be shaved to fit. Still, have lathe, will modify! 🙂

Next job is to get some M12 bolts (I believe to make matters more awkward they are fine thread) along with some studding and I can mount it properly and attach the gearbox. Plus I need to make up a new dowel.

Random updates

While I haven’t done much (mostly due to Christmas) I’ve done a lot more planning and a bit of ordering.

I’ve ordered my engine to gearbox adapter (I’ll have one spare for sale, leave a comment if interested).
I also found out the rear wheel centre line and measured things up, I think the engine will need to go forwards 3cm from its current position.

I’m not going to bother with the flywheel and clutch yet, no point. I’ll get them sorted when I’m nearer to being able to get it mobile!

The 1UZ-FE oil filter sticks out the side and would end up in the side of the chassis, I need an adapter to mount it elsewhere. It’d also be nice to have an oil cooler. Thankfully the oil filter is an assembly that bolts onto the side of the engine, there is a nice simple fitting on the side of the oil pump that can take a plate and some oil-lines.
So to get the dimensions I took off the filter assembly (alone with oil->water cooler) and stuck it along with a ruler onto my scanner. Then scan it, copy the picture into CAD and trace it. That was the easy bit.
The tricky bit was working out what fittings I could fit. They need to be as large as possible (to prevent restrictions) yet the fittings are rather close together. The issue being not the threads but the size of the nuts to do them up! I eventually finished on M16x1.5 aka M16 fine. I’ll probably go for a M16 to AN-10 fitting.

As an update to one of my previous posts I’ve found out the tacho can be adapted via dip switches to be altered to various modes, no adapter required! 🙂

ABS TCS DSC and EBD

I had a nice idea of fitting a Bosch ABS5.7 system into the GT40. I’ve given up on it. I just don’t have the access to the system I need to make the changes I’ll need and its just too safety critical to bodge it. Without getting too technical essentially I’d need to ‘tell’ it about the type of brake calipers as well as how fast it can slow down (under ideal conditions). That’s just for the ABS/EBD. For TCS and DSC I’d need that plus it to integrate it with the ECU/PCM as well as cornering ability to steering angle, roll rates and a whole load else.

I plan instead to add the bits that the system would need, ie the sensors and route the rear brake lines individually (normally it would be a single line to the rear and then a splitter). Then if at some point in the future I can justifiably afford a Bosch M4 I won’t need to dismantle and rebuild half the car to get it in!

That then still gives me the option of tracking wheel speeds, steering angle, G, roll and yaw.